Audio for Interviews
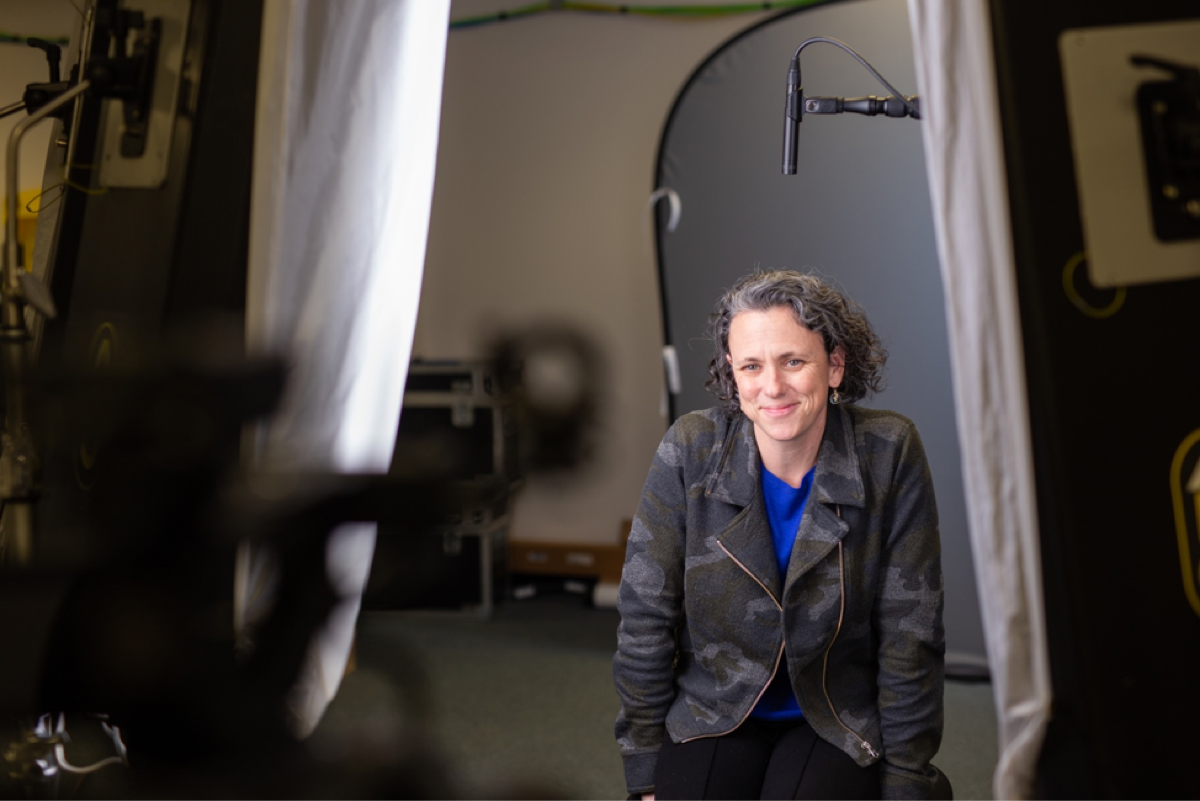
We’ve all been there. You’re watching a beautifully shot YouTube video about sea urchins and then the ocean expert comes on screen — and it sounds like the expert is speaking through a trash can. Uh-oh. This is the nightmare we try to avoid when filming an on-camera interview.
Our approach to interview audio uses two separate microphones: a wireless lavalier microphone (or lav) that is attached to the interviewee and a shotgun microphone on a boom pole overhead the interviewee.
Why use two mics, you ask? Pop Quiz!
- We would use more but we only own two microphones.
- We love extra work.
- If one mic fails, we have the other as backup.
- 2Mics is Trevor’s rap name.
The correct answer is: C.
We’re like the police. We love backup! Sometimes the interviewee accidentally bumps or moves the wireless mic during the interview, which changes its sound quality. We have the shotgun mic recording at the same time so that if the lav mic cuts out or gets bumped, we still have good audio.
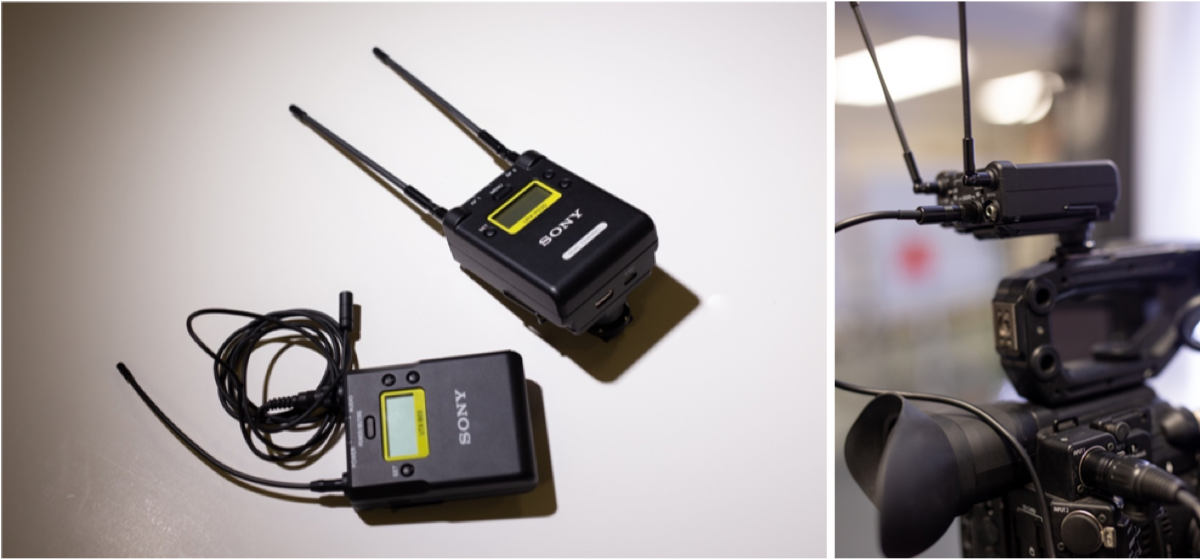
For the lavalier mic, we currently use the Sony UWP-D11 wireless system. This set comes with a transmitter and a receiver. The transmitter connects to the microphone and resides with the interviewee. We mount the receiver on the camera and connect it via the included 3.5”mm to XLR cable.
For me, the biggest hassle with the lav mic is attaching it to a person. Most lav mics come with a clip to use. I hate the clips. I have a hard time getting the clips right, and it takes way too much time. Plus I think it’s bad form to clip the mic to the collar of the interviewee and just let the cable hang in front of their shirt. Seeing the mic cable in interview shots is distracting and pulls me out of the viewing experience. Thankfully I learned about Rycote Undercovers at a workshop a few years ago.
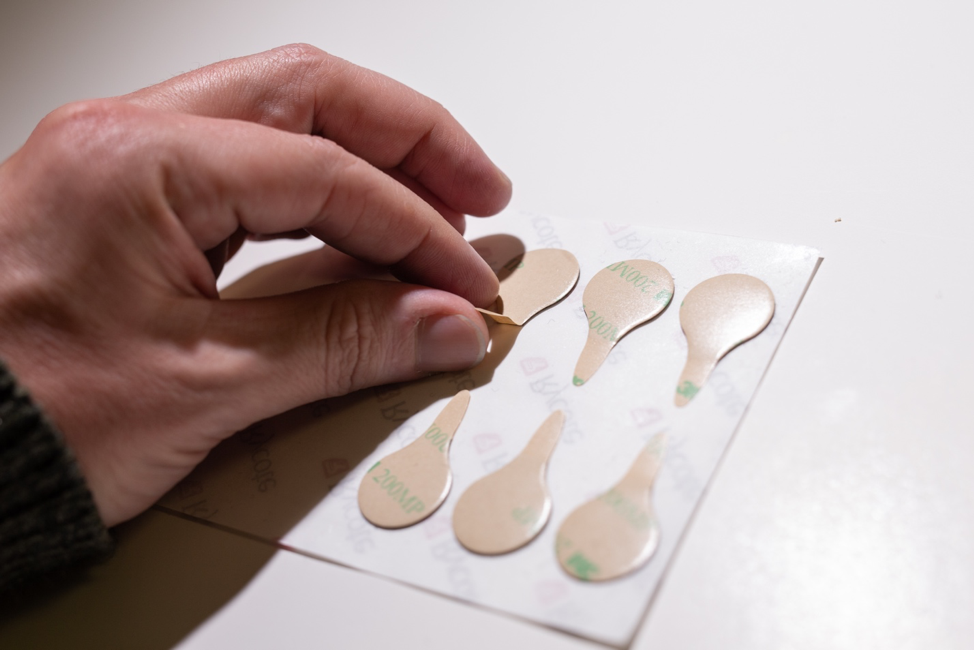
These little guys quickly became my new best friend. They are fairly cheap and work like a charm. You stick the lav mic to an Undercover and then stick it on the interviewee in a discreet location closest to their throat because that’s where you pick up the best audio.
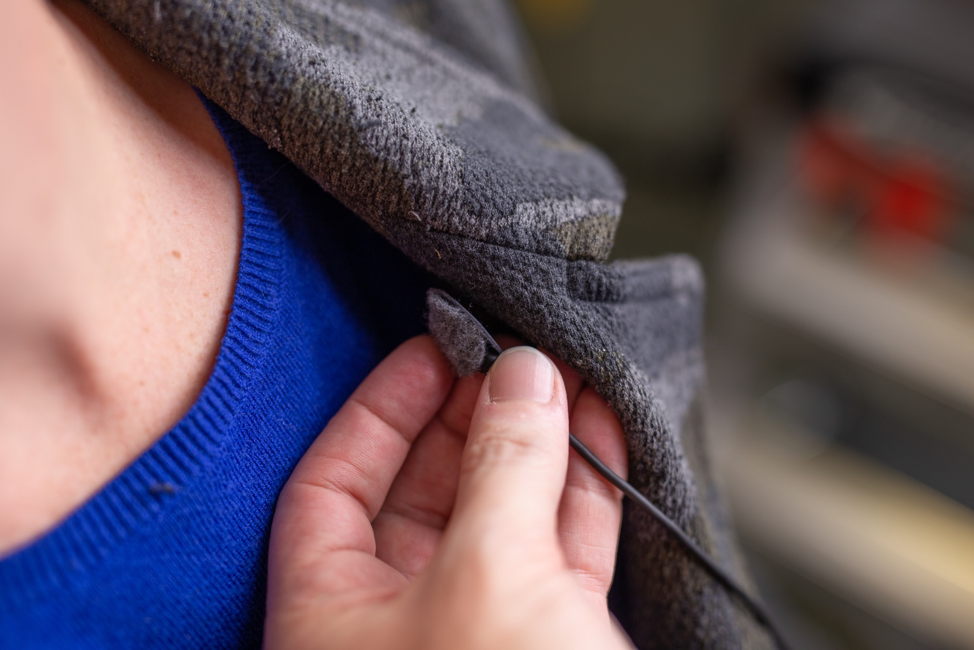
Stash the cable, and bing bang boom: You are now the Batman of lavalier microphones.
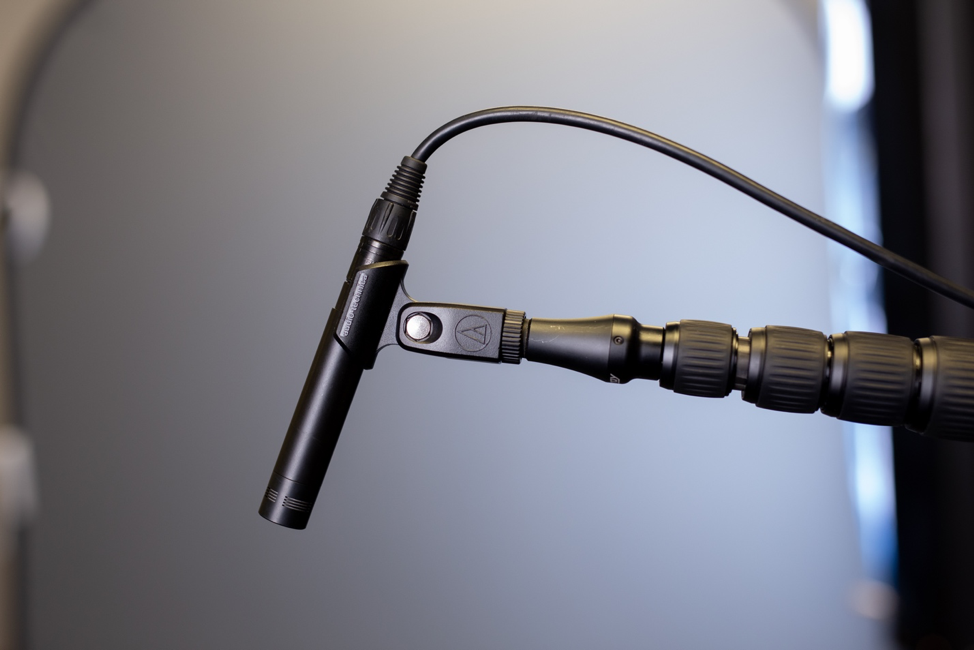
For the shotgun mic, we currently use the Audix SCX1-HC studio condenser mic with a supercardioid pick-up pattern.
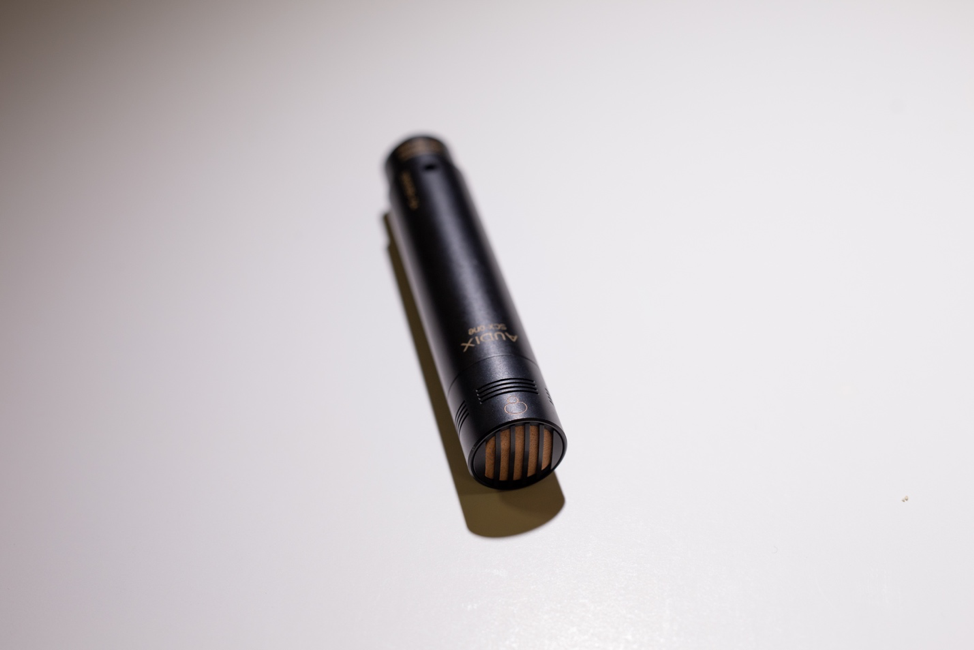
We mount it on a boom pole and stand. Using an XLR cable, we attach the shotgun mic directly to the camera’s XLR input. The two microphones are recorded on separate channels (L + R) in-camera.
We monitor the audio from the camera using headphones and the camera’s built-in level controls. We like our audio peaks to hit between -3dB and -6dB. If I’m familiar with the interviewee and expect loud laughter or a booming voice, I tend to keep the levels a bit lower just in case. It’s better to err on the side of caution here because you can’t recover heavily distorted audio in post. However, don’t set your levels too low because adding too much gain/volume in post can also introduce unwanted noise. Once your mics are set: test, test, test, 1-2-3. Find your sweet spot before the interview begins or when the interviewer is asking nonessential questions at the beginning of the interview and then hands off. Don’t mess with levels again during the interview.
During the interview, keep your headphones on and pay attention. If the audio goes out or is sounding really bad, take action. Wait until the interviewee finishes their statement and then interrupt. If you interrupt an interview, it’s not the end of the world. You want to get it right and this is part of the process. Everyone, including the producer who just gave you the stink eye, will appreciate it after the fact.
When the interview is over, we have the interviewee stay put and record room tone for about 15 seconds. No talking, no shuffling around. Just silence. Most of our interviews are conducted in rooms where there is some sort of background noise. Air-conditioning, fans, lab equipment. These types of things produce noise and that noise is likely to be picked up by your mics. If you plan on editing your interview, you’ll want a recording of that noise to use in your edit. Use it to smooth out the audio gaps in the interview. If this seems strange, it’s because it is. Almost all our interviewees throw us a weird look when we announce we are about to record room tone. But we do it anyway. And it’s worth it.
Quick tips:
- Alternative mic placement: If you can’t put the shotgun mic overhead (not enough ceiling room, too windy, forgot the stand, etc.) you can place the mic in front of and underneath the interviewee’s face.
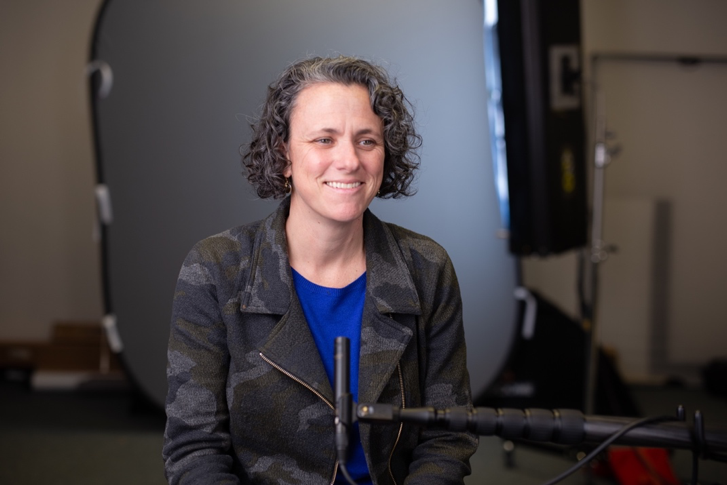
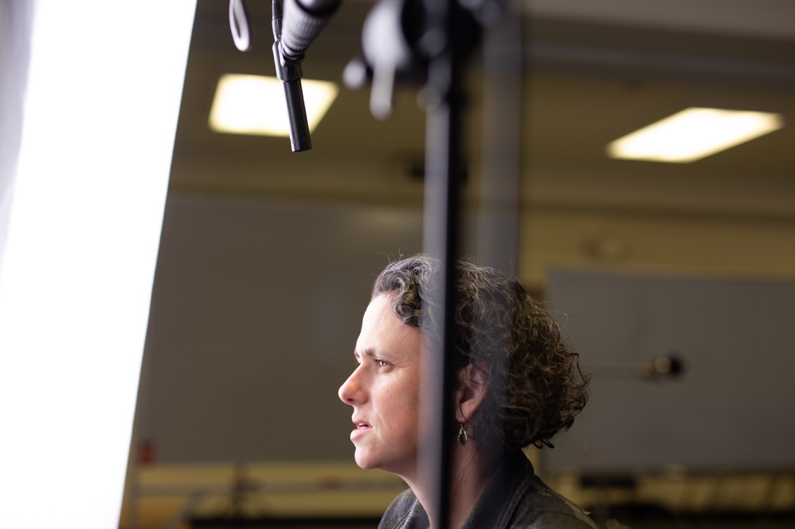
- Mic angle: Angle the overhead shotgun mic so that it is in front of the interviewee and pointing down at the interviewee’s mouth.
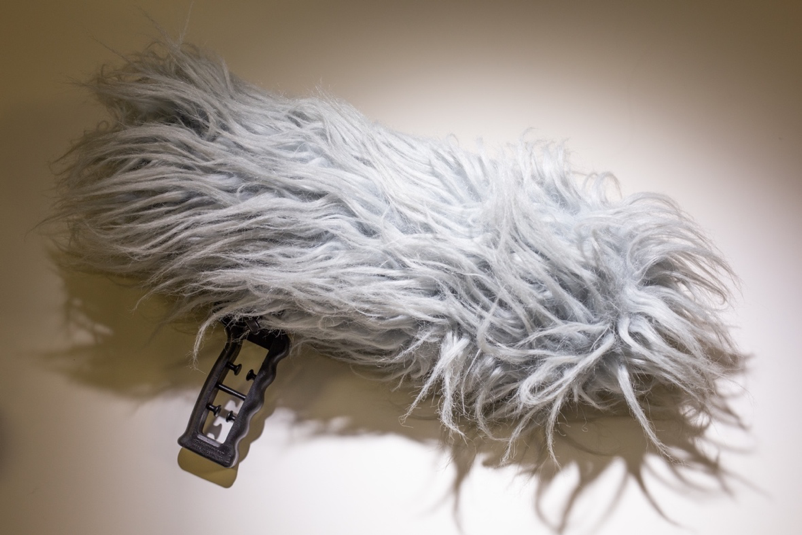
- Outdoor interviews: Bring along a fuzzy dead cat. Not an actual dead cat. A fuzzy dead cat, or wind cover, will block the noise from the wind very effectively. An actual dead cat will just smell really bad.
- Scout the interview location ahead of time: Listen to the sounds in the room. Is the room too loud? Is this something you can control? Can you close the door or windows to make it quieter? If the room isn’t adequate for recording audio, choose another room.
- Attaching the lavalier mic to a person: It’s OK to be nervous and apprehensive. We are invading their personal space. Make sure you ask their permission first before attaching a microphone. Communicate clearly what you plan on doing and where you want to place the microphone. This gets easier the more you do it.
- Optimal shotgun mic placement: Put your mic as close to the subject as possible while keeping it out of your shot. Just because your mic is expensive, doesn’t mean you can place it anywhere. Learn more.
Audio is just as important as video when filming an interview. If I’m going to spend time to set up the tripod, set up the camera, choose a lens, think about framing, and adjust lighting, then I’m definitely going to spend time getting the audio right. Good interview audio will go a long way in keeping your viewers watching and driving home the intended message of the video.